
How to Activate Your Network on Helpbuttons: A Step-by-Step Guide
🇪🇸 Leer este artículo en español
Do you have a group, a community, or simply a collaborative idea for your neighborhood or collective?
With Helpbuttons, you can create your own digital network in minutes—simple, free, and with no technical knowledge required.
In this first blog post, we walk you through every step to activate your network from scratch.
What is Helpbuttons?
Helpbuttons is a free and open-source platform designed to help you organize your community in the real world: from sharing resources to creating mutual aid networks or neighborhood groups.
If you’re reading this, chances are you already have a network created (congratulations!). Now it’s time to launch it. If not, click here to create one.
Once we confirm your network is ready, you’ll be able to access it via the URL provided or directly from your user menu on Helpbuttons. If you manage multiple community projects, you can create multiple networks.
Activate your network in 5 steps
This isn’t about tech or complex tools. Just five simple, logical actions to bring your network to life from day one.

1. Define the collective purpose
Before configuring anything, the most important thing is for you and your group to be clear about what your network is for.
Are you organizing cultural events? Setting up a shared garden, a care network, or an asset exchange group? Looking for a way to coordinate among neighbors? The possibilities are endless.
Having a shared purpose is like having a compass. It helps you make better decisions, invite the right people, and enable the features you actually need.
📌 Real-world tip: Don’t stress about defining everything perfectly. Start with a clear intention—and let it grow from there.
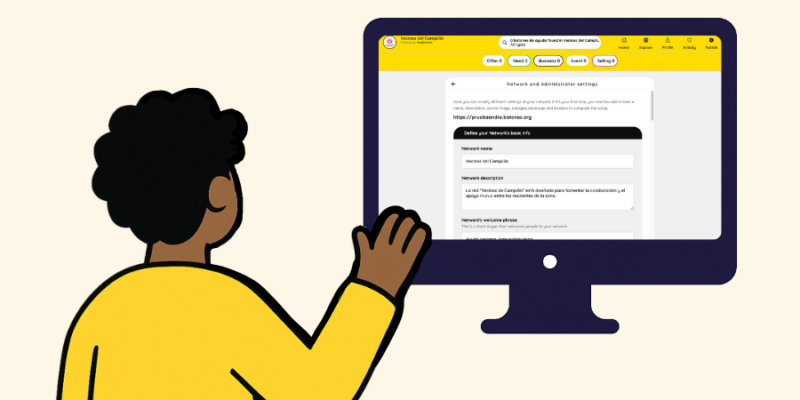
2. Personalize your network
A network without a face doesn’t connect. That’s why the next step is to give your network a visual identity and story.
From the Network Settings menu, you can:
- Edit the name of your network
- Upload a header image and logo
- Choose your network’s main colors
- Write a slogan with your welcome message or mission
- Add a longer description that explains how your network works
This isn’t just about looks. A well-crafted network builds trust and a sense of belonging.
Access your network in HelpButtons and open the editing panel to get started.
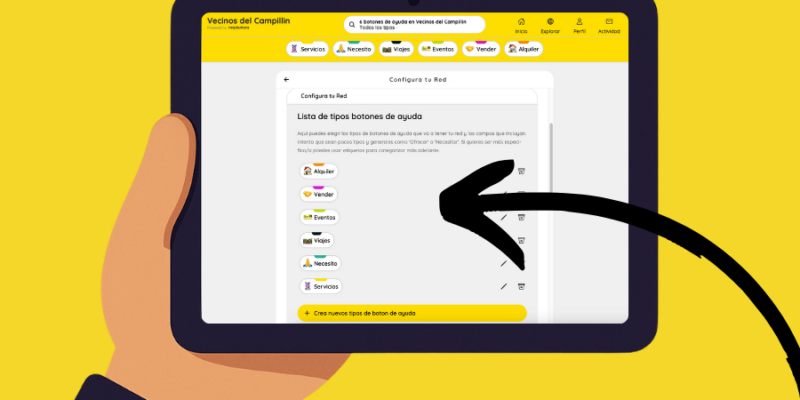
3. Configure only what you need
Not all networks are the same. Helpbuttons lets you activate only the modules you need—like a flexible toolbox.
From the admin panel, you can:
- Select types of posts: alerts, questions, events, resources, offers, etc.
- Add optional fields to each post: date, location, price, images, etc.
- Create topics (tags) to organize content
- Set a default location for your network (e.g., your town or district)
🛠️ Starting tip: Don’t overthink it. Start small. You can always adjust later. Just remember to save your changes.
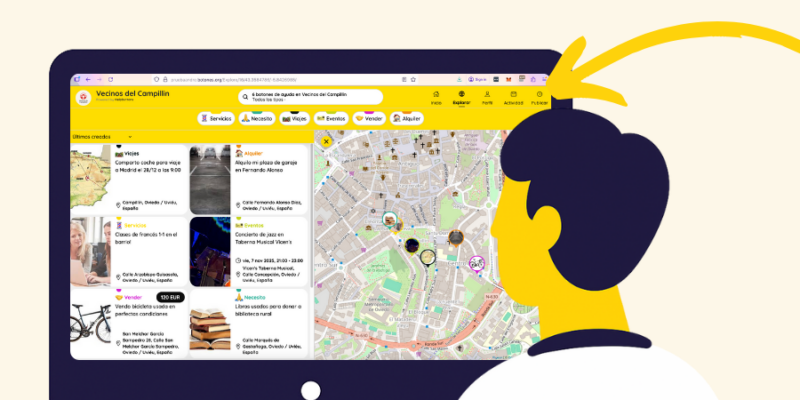
4. Publish something (even if it’s short)
An empty network can feel discouraging. That’s why posting something—anything—helps break the ice.
Real examples:
- “Hi everyone! This network was created to share knowledge and support each other in the neighborhood.”
- “What would you love to see shared here?”
- “This weekend we’re gathering at the plaza—who’s in?”
You can also enable action buttons like “I need help” or “I’m offering something,” depending on your network’s purpose.
📌 Engagement tip: A personal, friendly post works better than a generic one.
5. Share your network with others
Now’s the time to invite your close circle. Don’t wait for everything to be perfect.
From the sharing menu, you can:
- Copy a direct invite link
- Download a QR code for printing or sending
- Send invitations by email
Start with 2–3 key people: someone who’s always active, someone with good ideas, someone with time. That core team will help your network take shape. You can even give them admin permissions so they can help moderate and configure things.
Open your network and look for the “Share network” option.
In summary
Here are the 5 steps to activate your network:
- Shared purpose
- Visual and narrative customization
- Basic configuration
- First post
- Invite your core group
No need for perfection. What makes a network thrive is care, consistency, and the people who hold it together.
Still have questions about your Helpbuttons network?
Check out our FAQs or contact us.
You can also join our Telegram to get news, ask questions, and connect with other network admins.
Últimos artículos publicados
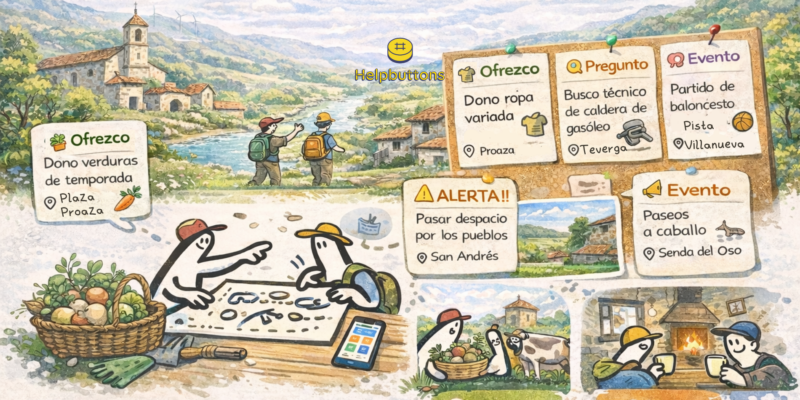
The Trubia Valleys: when a rural collaborative network built with Helpbuttons starts to take root

